
How to install Let’s Encrypt (Free SSL/TLS Certificates) manually in cPanel
To install Let’s Encrypt (Free SSL/TSL Certificate) you have to use a thirdparty website that has been mandated by Let’s Encrypt to issue the certificate.
In this tutorial we are going to use www.sslforfree.com to generate the certificate.
1. Load the www.sslforfree.com website in your preferred browser.

2. Enter the domain name of your website in the highlighted option and click on Create Free SSL Certificate option. This will check for your domain verification


3. The page below will load explaining how you will verify your domain ownership as well as highlighting the terms and conditions for using on the Let’s Encrypt Agreement. Finally click on Manual Verification which allows for manual certificate installation through the cPanel.

5. More information will appear below the page, allowing you to Manually Verify the Domain.

6. Upload Verification Files information will appear below the page. First, click on the two download links to download and save verification files that will be used to verify the domain on the browser later.

7. Login to your domain cPanel at www.yourdomain.com/cpanel, go to File Manager, public_html folder,


8. Inside the public_html folder, create “.well-known” folder by clicking on +Folder icon.

9. Afterwords, open the .well-known and add “acme-challenge“, then upload the two files downloaded earlier. Click on Upload


10. To verify successful file upload, load the links on the browser, no error will be displayed for successful upload. If there is no error on the browser, click on Download SSL Certificate

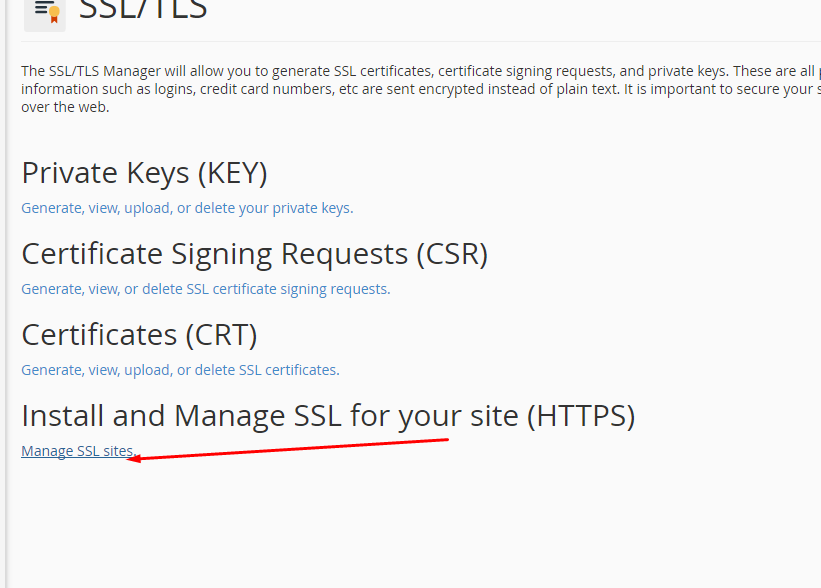
11. The certificate files will be generated,i.e the Certificate, Private key and CA Bundle. Go to the cPanel, scroll down to the security section and click on SSL/TSL section. Then go to Manage SSL sites.

12. Copy paste the keys respectively starting with the Certificate , Private key and the CA Bundle into their respective sections on the cPanel.

Copy the keys here respectively. Then click Install Certificate below.

13. Finally go to the File Manager, public_html, search for .htaccess file, create it if it does not exist. This file contain the code that will allow the website links to redirect and use https:// for secure connectins instead of http:// that is currectly being used.

14. Select the file and click on Edit. Copy the code below and go to Save Changes


15. Finally, load your domain link on your browser. Congratulations!!